Saturday, 15 November 2014

Insectoid- Personal Project

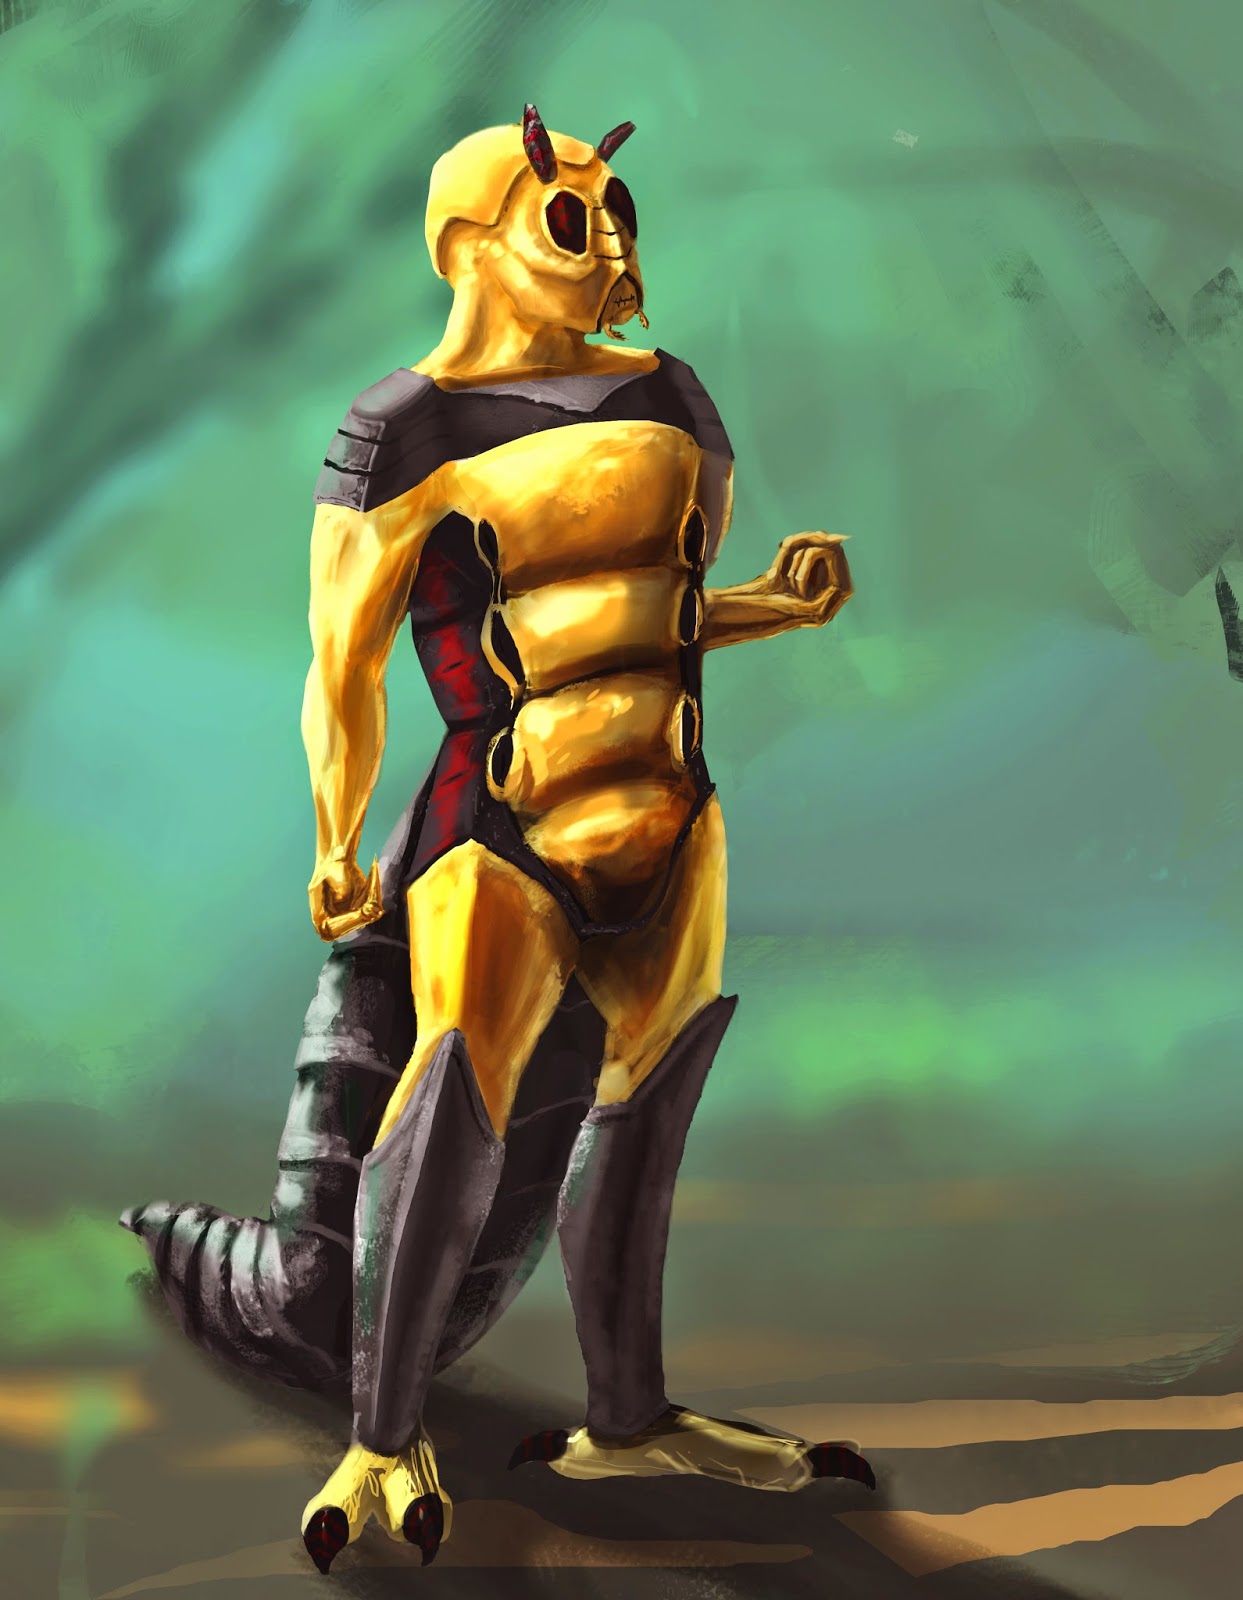
          Being inspired by the assignment that we had this week (about designing an "insectoid" with a recognisably insect based), I decided to make a second design, a personal project, that I am proud to share it with you guys. At the moment my laptop kinda bailed on me, so I do not know how good the quality of the image is. If it is that bad, I will try and update it after I fix my problem. I have not done like on the other one, a front and side view, or go in stages, because I did not thought that in the end I will want to upload it.
          Please if you think that there is something I can add to it, or I mist something, or made a mistake, or simple you like it, add a comment with what you think. Thank you!


Friday, 14 November 2014

Week 5 of Life Drawing

This week in Life Drawing course we had the change to paint with ink, something completely new for me. As you can see in the image below I did not have soo much time to finish them, but I tried to get them at a decent level (We had like 5, 10 minutes ).

INSECTOID-Character design- Week 6-7- Session 5-Week of 3rd November

          This week's assignment was to create an original design concept for an insectoid  character, in the game genre and style that we want. The only constraints were that our concept should be researched and recognisably insect based.


MoodBoard.

Sketches from my Sketchbook.


After having an overview on my sketches I decided to go with the 3rd one for my concept.
First I have done a front and left blueprint style view of the character, to get the proportion right.

Then I have done it in black and white to suggest what kind of material is he made from, and to have a better look where some things end, and some start.
         Before doing the final design in a three-quarter view, I started to do some poses, modifying just a bit in each one. In the end I decided to go with the 1st pose as my final design.
                                                               Final design.


Classwork-Week of 27th October- Week 5

          This week we had to transform a girl into a zombie! But fist we had too see:
                           -How easily we can create realistic affects with Style Fx in a layer.
                           -How we can construct texture maps in a way that lets us easel reuse.
                           -How Multiply and Overlay can can ease your work.
         After all that we had to make our own changes, and see the effect in Maya. Changes like:
changing the jackets colour, find a cloth texture, add a new logo to the back of the jacket, replace the face of the female. Now the Halloween themed part was to transform the girl into a zombie by painting over the texture map.
        Sorry for the late post, but had some problems with my laptop, so I had to go to the university to do all of this.

                                                   The girl that it was given to us.

                                The changes that I made to transform her into a zombie.
                                     
                                                   Viewing the zombie in Maya.


Wednesday, 5 November 2014

Week 4 of Life Drawing

Hi guys. This week in Life Drawing course he had the chance to do something new and very provocative. As it was halloween, we had to draw zombies (as you can see in the bottom image), but as our model could not stay more than 5 minutes in a position, we had to do the drawing in 3, 5 minutes. The other intereste thing was the frame that we used (as you can see in the images from above). Those were done in like 10 minutes (if I remember corectly), and besides doing the model we had to do the frame in perspective, and also get its proportions correct
, because if the frame was not right, the model would not be drawn accurate.

Train Station- Personal Project

                  Train Station is a concept that I started, inspiered by one of Feng Zhu video tutorials.
( if someone is interested here is the video http://www.youtube.com/watch?v=mH_g_e-fIzo).
                I didn't wanted to go into colours, in my vision it should been only black and white, but at the end I feel the need to add a bit. Hope that you guys like it, and please, if you see something wrong ,that I haven't noticed, or if you could give me some advice on what could I do to improve it, leave a comment. As I am at the beginning, so everything you say is useful.

                                                                   Reference:

My concept

Week 5- Modeling our Turret Concept

           The turret concept, is a project that we started like 2, or 3 weeks ago in our modelling course. We had, by following an given design, to make the turret as close as we can get to the design. After doing the big shape of the turret, we started adding details. We did not had to follow any design on our details, so we did what we wanted. Then, we start baking the model, with the options that we needed. The last thing that we had to do, was to put some textures on the turret, to make it more realistic.

The given design.

My design of the turret in Maya.

The detailed model, after baking it.

                                                                 My texture.


Week 3 of Life Drawing

As I mentioned in the last 2 posts of Life Drawing, the drawings are done in 5, 10 minutes. This week we also tried something new. We had,  just with shading, to suggest the shape of the model, without using any lines (the last image shows exactly what I refer to).


Friday, 31 October 2014

Scary monster concept-Week 5 - Session 4 - Week of 27th October

             In the spirit of Halloween, this week's assignment was to create a scary monster concept. 
             We had the chance to choose how our monster should look (monstrous, ghastly, drippy, icky, ghoulish, ghostly, witchy, stylised). I started by making 6 silhouettes of monsters, choosing 3 that I want to detail a bit, and, remaining with just one that I want to be my concept.

                                                               Reference:


                                                             The silhouettes.
                                                     
                                                       The 3 that I detailed a bit.
                           
             My final concept. As you can see I modify it, because the one from the 3 detailed silhouettes, wasn't too correctly designed.

Friday, 24 October 2014

Lynda Modelling Assignment - Week 3 and 4

As last week assignment, we had to create objects, furniture, and to apply our own texture using a Lynda tutorial. As the previous post of Maya, I posted two images (one with texture and one without)to show the difference.


Thursday, 23 October 2014

Alien Caterpillar- From Week 2 (sorry for the late post)

                Basically in this week class assignment we had to paint over a linework. This creature concept belongs to Arne Niklas Jansson, and we had to follow his method of painting to get to this stage. His technique, as you can see in the image below (my progress), uses flat colours and basic shading over linework.

                                                  
                                                  The progress of the assignment

                                                                                 
                                                            The Final Design

Perspective Drawing- Week 4

         This week assignment was to complete a tutorial of an urban environment, in 1 point perspective.  (  http://www.youtube.com/watch?v=SCW9D2GytHo  )
          Some points that we have to complete were:
                     1.It had to be done in our sketchbook/a separate peace of paper.
                     2. It had to be finished off with colours ("watercolour or light markers tend to work well for this style of environment drawing")
                                                       
                                                      First sketch, using the tutorial.
 
                                              
                                               As you can see I modify my sketch a bit because the composition was off balance. So I had to add some elements to restore it.

The painted design (watercolour)

                              As I was not fully satisfied with my watercolour sheet, and wanted to go digital with this project, I tried a photoshop version of it.

My final design ( with some small details from the previous image)

Saturday, 18 October 2014

Maya- week 2

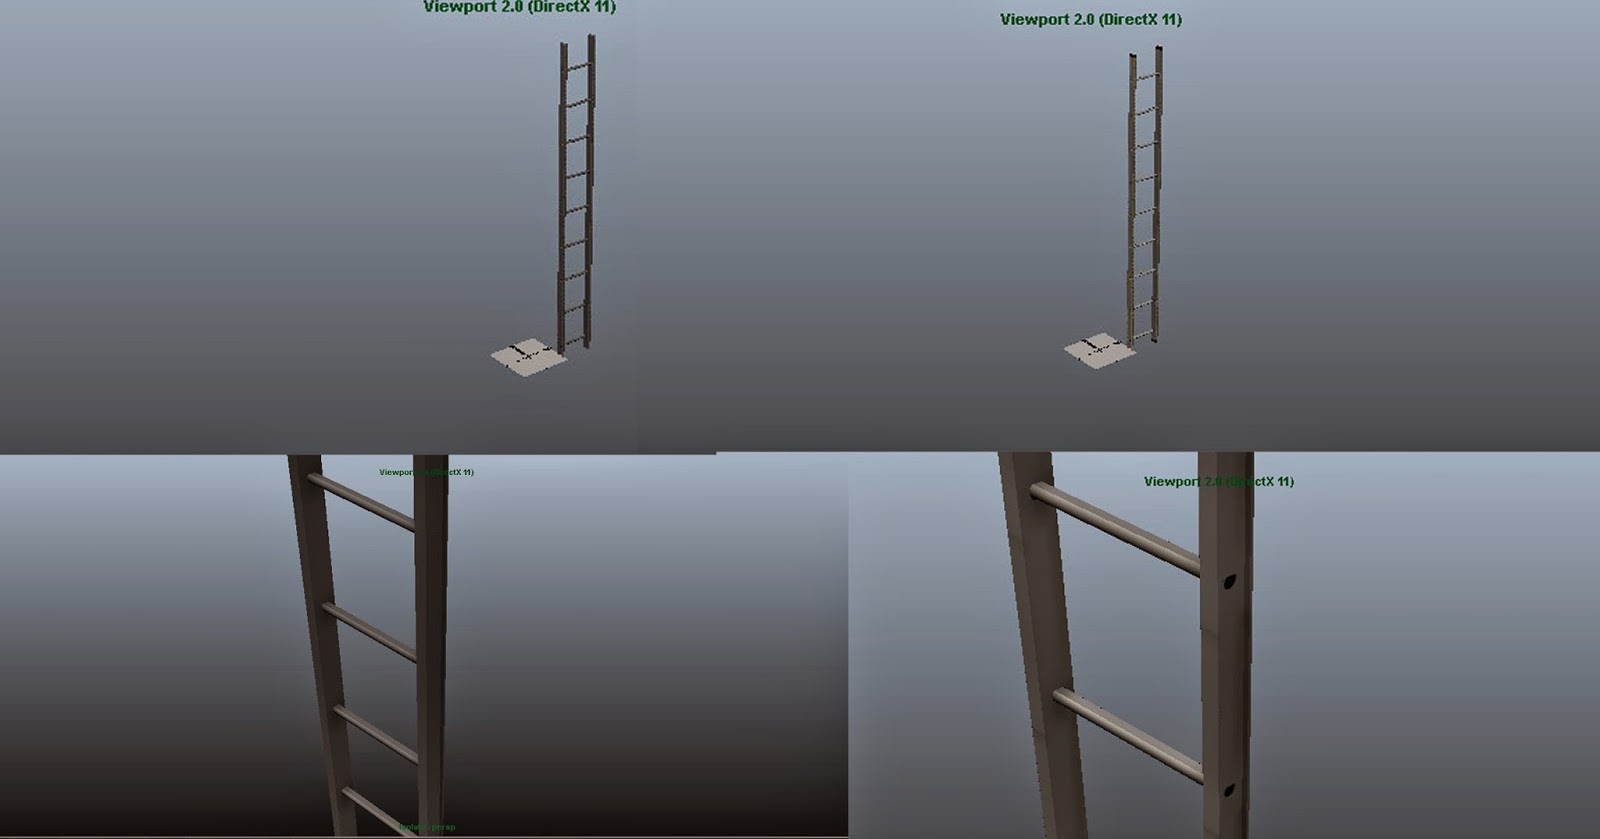
This week we had to create a pry bar, a sledgehammer and a ladder, using a Lynda tutorial. As you can see in the images below I had the chance to make my own texture and apply it to the object, something completely new for me. I posted two images (one with texture and one without) to show the difference.


I posted this image to show the difference between the object. I am referring to height and texture.


v

Futuristic Weapon

This week homework assignment was to create a futuristic sci fi weapon. Some things that we had to respect were: 1. It should be a mechanical one 
                       2. Must be a projectile firing gun
As usually I started by researching for reference, first for some real guns, then for some sci fi weapons, that other artists have done. As you can see in the images below, I continue by doing some quick sketches, selecting and modifying the one that I like, till I choose the one that I want to be my final design.
Reference:
                                                The designs from my sketchbook:
                          The 3 designs that I wanted to go further with, and modify them a bit:
          The gun that I chose to go for as my concept, with some small changes from the last image:
                                                                  Final design:

Character design- week 3

This week we had to create at least 3 character design using silhouettes, they have to be worked into in grayscale to bring out details . As reference we have to research for images of crustaceans.
Reference:
My designs:

week 2- Life Drawing

As I mentioned last week, most of the drawing are done in 5 minutes, but in this image there are some that we have to do in 10 minutes.

Saturday, 11 October 2014

Creature with Tentacles.

     This weeks task is to design a creature with tentacles, using reference from reality. Below is my reference sheet that I have managed to make:
Using the reference, I started to do some quick sketches, trying to come up with something more original. Didn't know if to go for a creature with the body of a man, or of an animal. After some thinking I decided to go with the one wearing a mask from the third sheet, as my design.
               This is the final design of my creature. I would like to add up more details, and maybe show it from different angles, but this is for now.

Sunday, 5 October 2014

Soul Hunter


Soul Hunter is a concept that I started a while ago, but I didn't had the time to finish it at that moment. As you can see in the process below, I wasn't fully happy how the design was going, so I went back and modify it, and at the final stage I didn't feel that it is necessary to add colors, so, I kept it black and white.